Black and White Painted Coffee Table
Do you love that rustic farmhouse style? This coffee table totally speaks farmhouse to me. We were asked to refinish this table for a client who was looking for that fresh farmhouse style. But let me tell you when I first saw this table, all I saw was a beat up table that I wasn't sure was worth saving. However, keep scrolling and watch the dramatic transformation of this Chalk Paint Coffee Table Makeover.
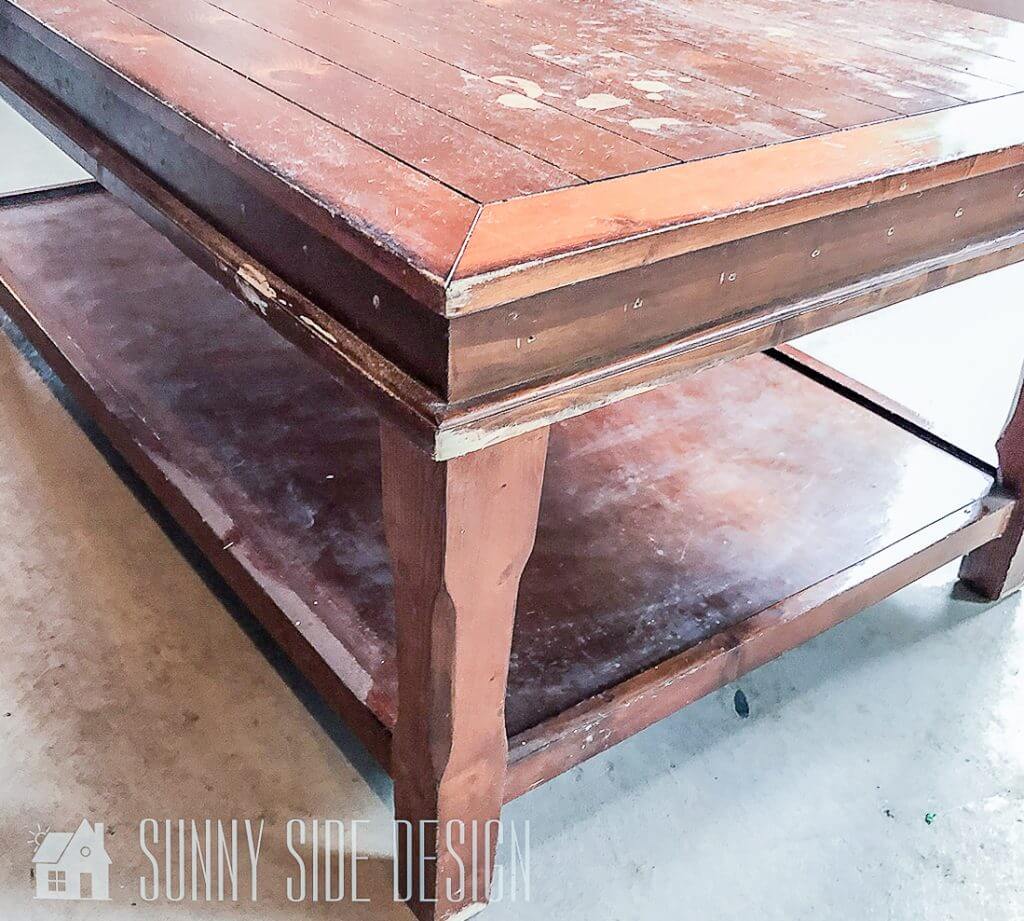
Coffee Table - BEFORE
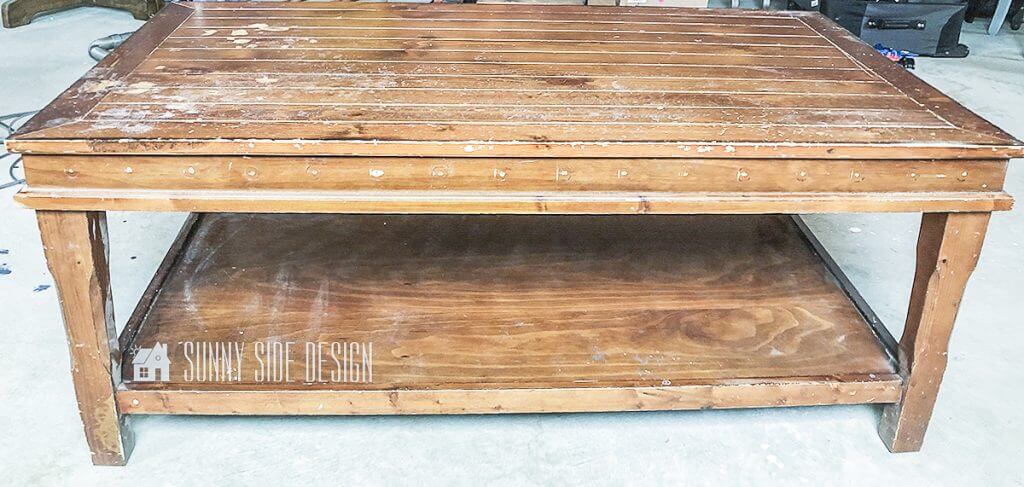
Without a doubt, this table was in rough shape! It had had a nailhead border that was removed. The finish was chipped, as well as water damaged.
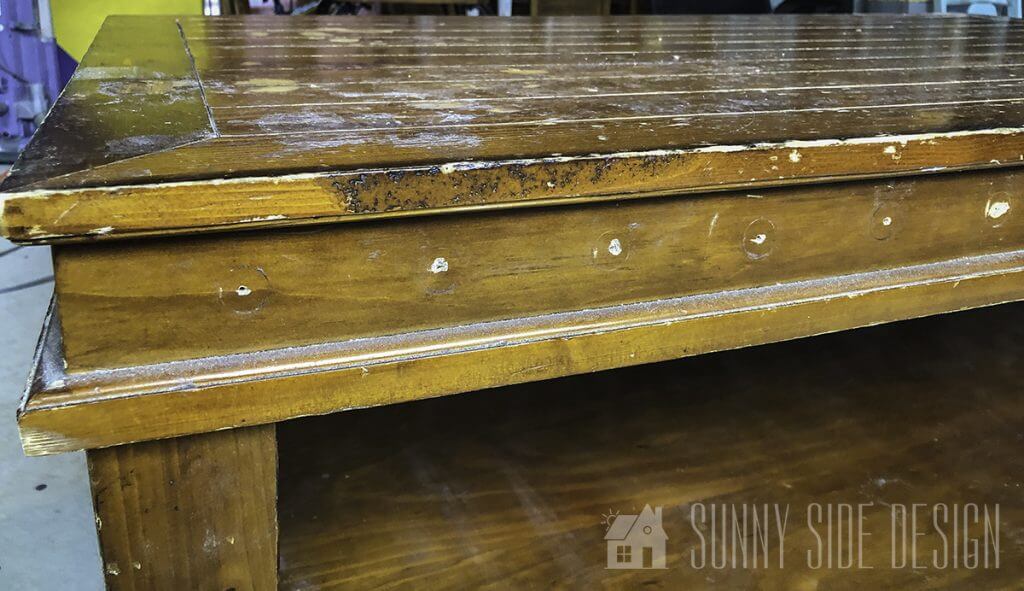
The table top was so rough, it looked as though someone had taken a fork and pierced the surface. It was trashed! But with a little lovin' it became a treasure!
This post contains affiliate links for your convenience. As an Amazon Associate I earn from qualifying purchases. Please see our disclosurefor details.
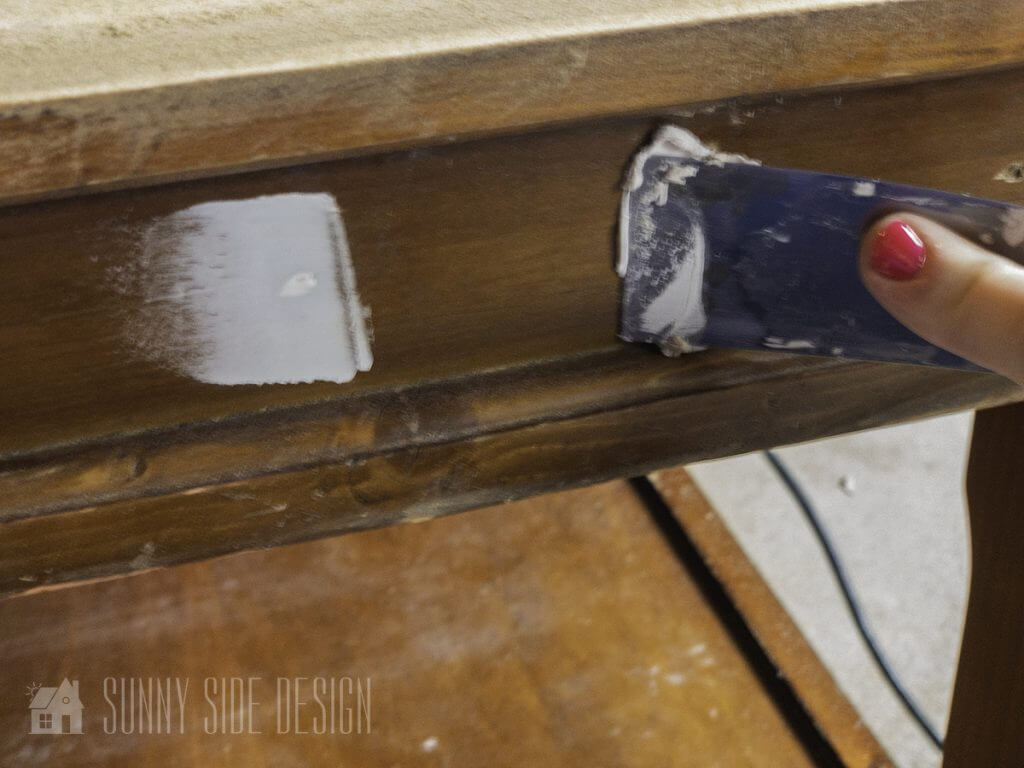
Step 1 - Fill in nail holes.

Step 2 - Sanding
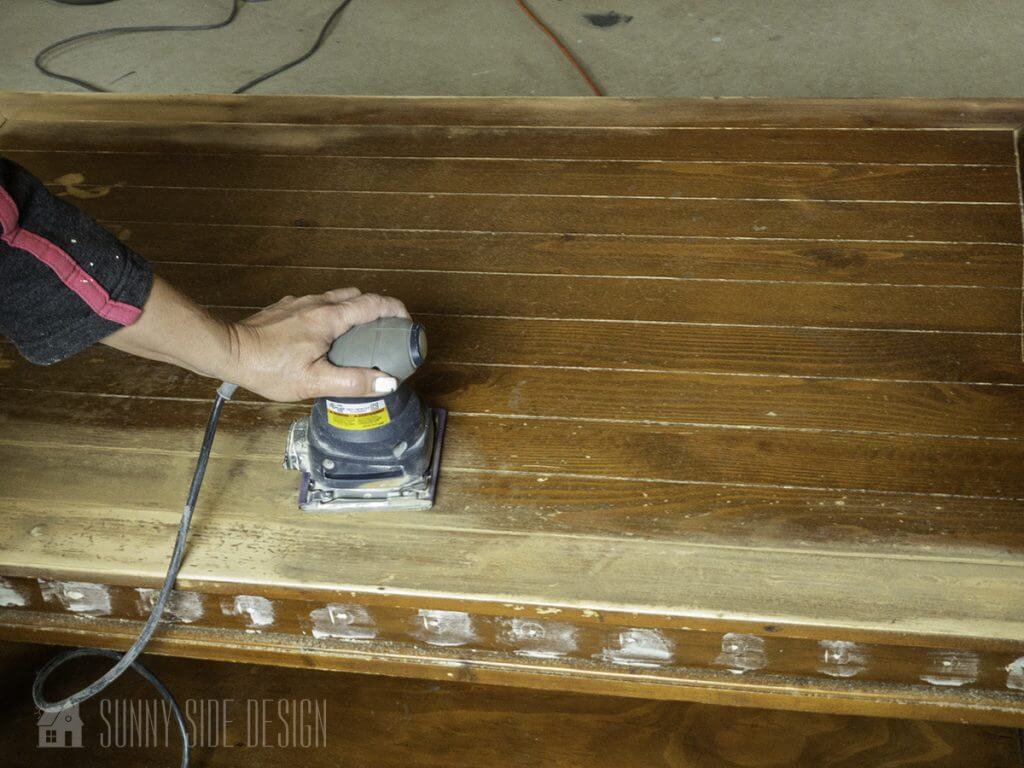
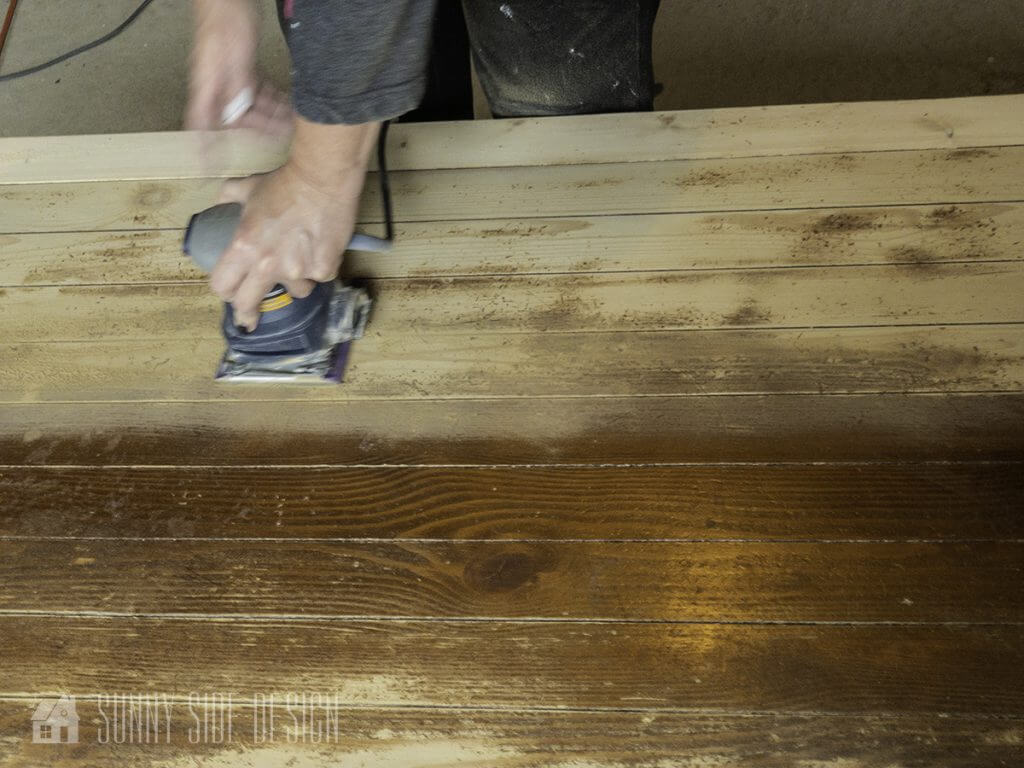
Normally when we refinish a table and use chalk paint, there is no need to sand. However, this table top was in such rough shape that if we did not sand the top, all of the divets would have stuck out like a sore thumb. 🤪 So, we got out our palm sander and began sanding until the surface was smooth.

The spackled nail holes were sanded by hand with a piece of fine grit sand paper. This area was too small for the palm sander.
Now it's time to clean the surface for paint. Since the table top is planks, we used the brush attachment on the vacuum to get the dust out of all the crevices. Then wiped the entire surface with a damp cloth.
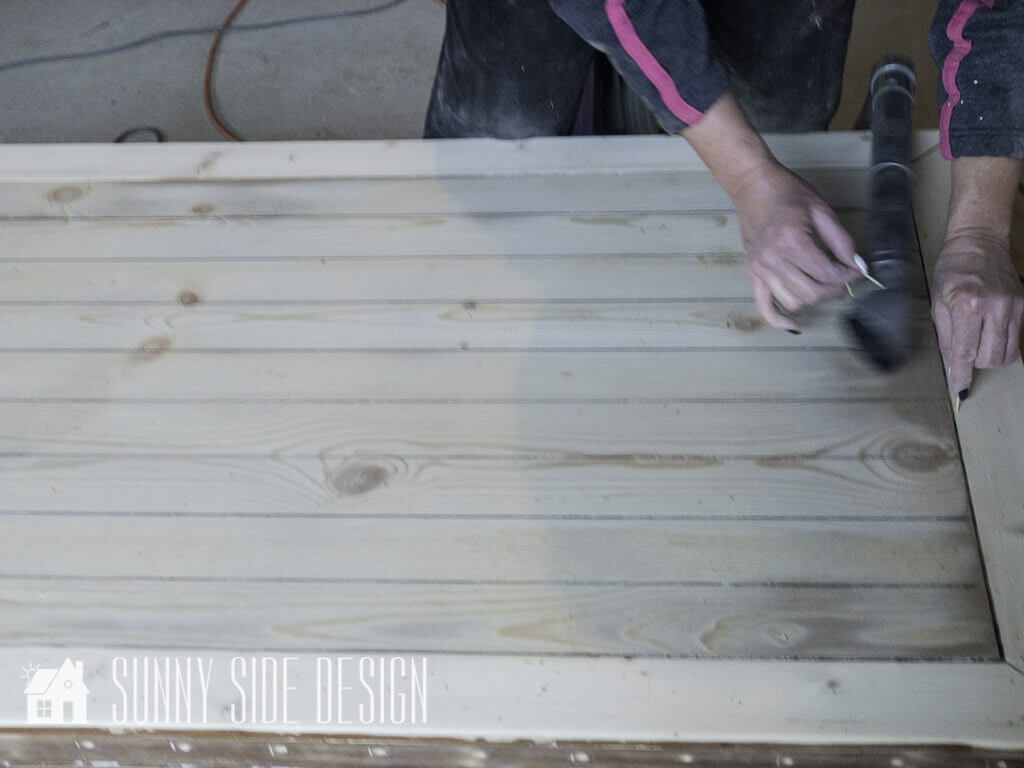
Step3 - Chalk Paint


Ok, we are ready for the fun part, the paint. Using our favorite paint, Behr Chalk Paint in Farmhouse White and Purdy paint brush, we applied 3 coats of paint to get complete coverage. Let dry completely before distressing.
Step 4 - Distressing
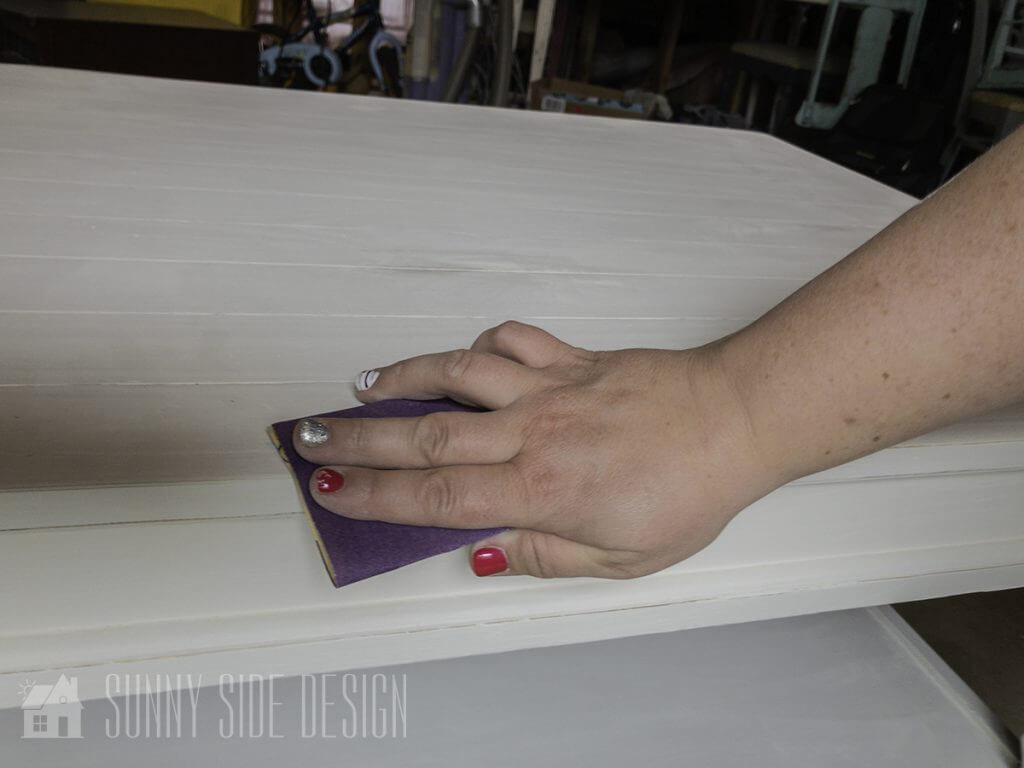

Distressing the finish is a necessary step to get that popular farmhouse style. It is best to do this by hand, this way you are able to better control the amount of distressing you would like.

Using a fine sandpaper, gently sand off some of the chalk paint around the table, focusing on natural wear spots like the corners, as well as a few random spots.


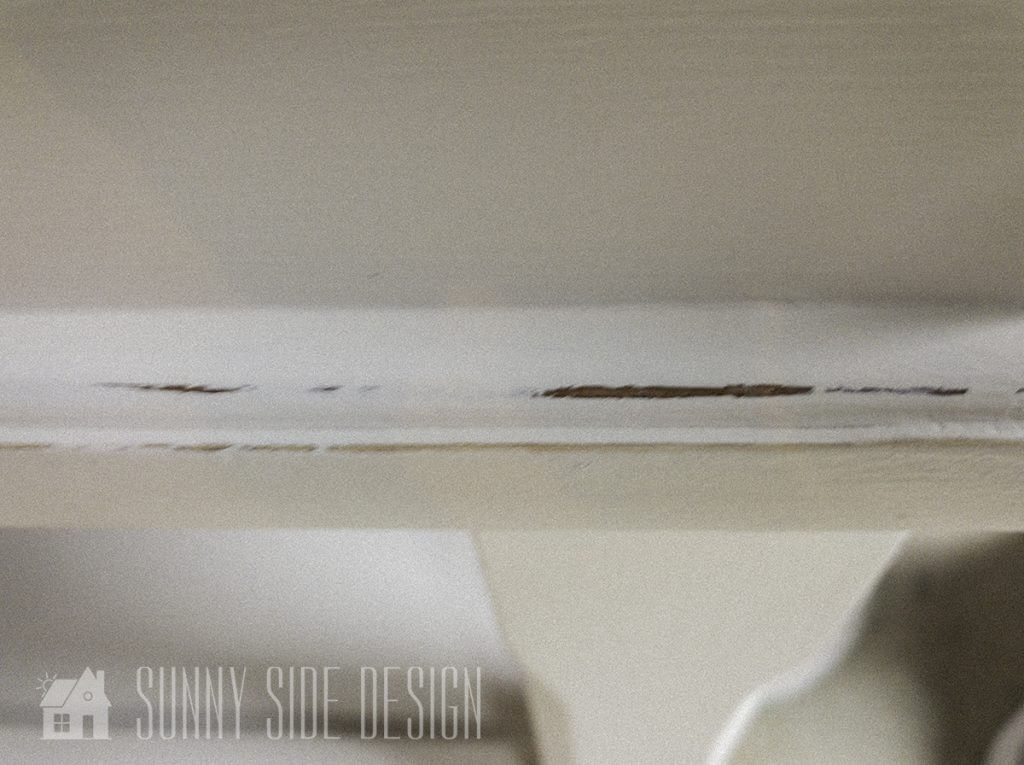
After distressing the table, we realized that the distressed area on the table top didn't match the distressing on the rest of the table.
The remainder of the table had a darker stained finish that was showing through on the distressed areas.
While on the table top, we had sanded off all of the stained finish and just the bare pine wood was left.
To fix this problem, we used a stain marker to add some color to the distressed areas on the table top. Let it sit for about 10 minutes then wipe off any remaining stain.

This little trick worked perfectly, so that all of the coloring on distressed areas matched.
Step 5 - Protective Finish

All chalk paint requires some sort of protective top coat. Waxing is always a popular choice, however for this table we decided to use a poly finish.
We love to use this Wipe-On Poly finish for all of our DIY furniture projects. It is extremely durable, easy to use and leaves the furniture with a beautiful finish.

Wipe-on Poly is so easy to use. Pour a small amount on a clean cotton cloth. We like to use pieces of old t-shirts. Then simply wipe on the poly covering the entire surface.
It is always better to apply 2 light coats, then you are less likely to get runs. After the first coat is dry, sand lightly with an extra fine steel wool and repeat.
This will ensure you have a beautiful, smooth finish.
For the table top we applied a 3rd coat of poly. This will give the table top a little extra protection, where it will get a little more wear and tear.
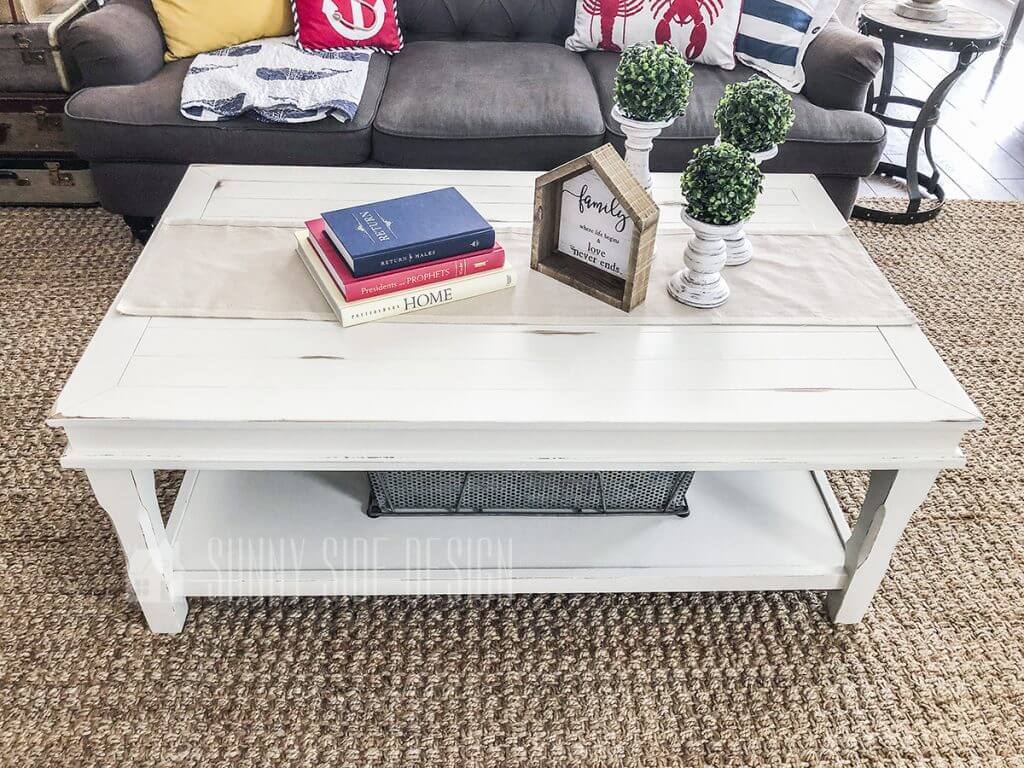
Chalk Paint Coffee Table Makeover

Doesn't this finish look amazing? Look at that gorgeous, silky and smooth finish. When it turns out this great, I can't keep my hands off of it, I just need to feel that silky surface.

Can you believe the transformation? Remeber, I had thought that this table wasn't worth saving? Boy, was I wrong! It is a real show stopper now!

Have you tried using chalk paint? It never ceases to amazing me what a little paint can do. Do you have a piece that you've been waiting to revamp? Please share what you are working on, we love to hear from you!
Thanks for stopping by! We hope you have enjoyed this tutorial.
Please PIN it and share. Sharing is caring!
Be sure to subscribe to our newsletter so you never miss out on any of our budget-friendly projects.
And as always here at Sunny Side Design
WE HOPE TO BRING YOUR HOME TO THE SUNNY SIDE OF THE STREET!

Would you like to see more ideas for refinishing furniture? Then take a look at the tutorial for using Saltwash here.

Would you like to see how to use glaze to create a beautiful worn finish? Then chick here.

Do you love a Restoration Hardware Finish? Then see how we used vinegar and white wax to achieve this finish. Just click here.

Looking for even more DIY and organization ideas? Be sure to follow us on Pinterest!

Black and White Painted Coffee Table
Source: https://www.2thesunnyside.com/chalk-paint-coffee-table-makeover/
0 Response to "Black and White Painted Coffee Table"
Post a Comment